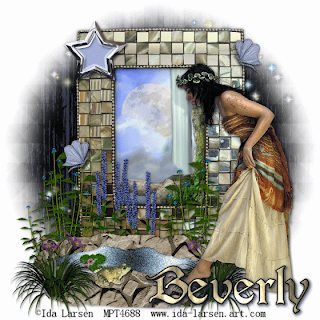
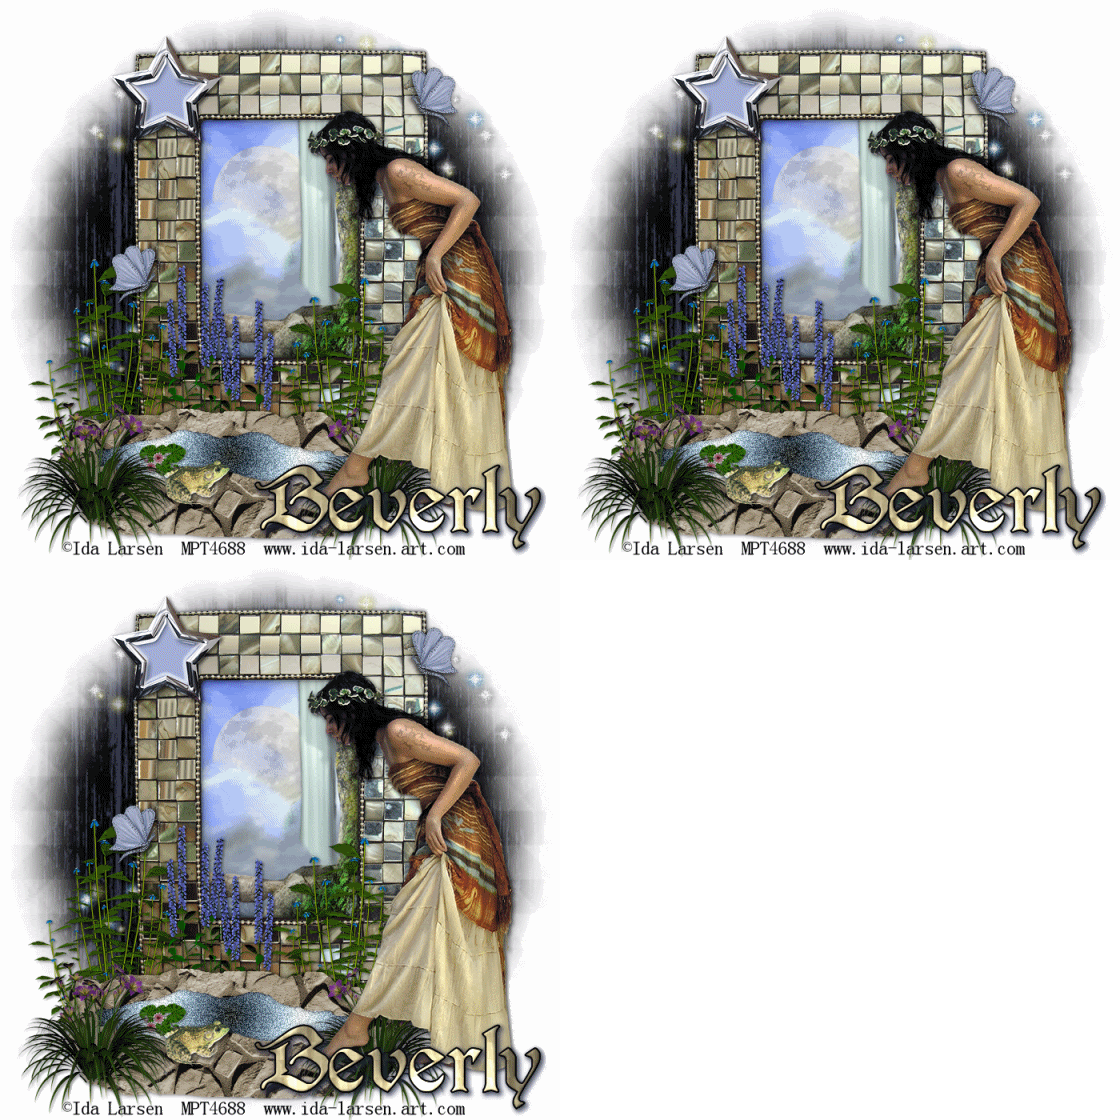
 Clicking on the image will enlarge to full view.
The image below shows the animation.

Supplies
1 tube and 1 image of choice - I’m using the artwork of Ida Larsen which you can purchase here
Font of Choice - I’m using PerryGothic here
WSL Mask 209 here
DSB Flux - Bright Noise - Optional
Animation Shop
“Mystical Pond” is a taggers size scrap kit created by Cindy of Southern Scrapz and can be purchased here. You can visit her blog here.
Thank you Cindy for an amazing kit!
This tutorial was written assuming you have working knowledge of PSP.
~♥~ Let’s get started ~♥~
Open up a blank 700 X 700 canvas.
Flood Fill white.
Copy and paste Ele 3 as a new layer.
Resize 60%
Use your Magic Wand and click inside the frame.
Selections/Modify/Expand by 4.
Copy and paste your image below your frame.
Resize if necessary.
Selections/Invert
Hit the delete button.
Deselect.
Close out your white canvas and merge visible.
Re-open your white canvas.
Copy and paste Ele 23 as a new layer.
Resize 40%
Rename Pond
Add your embellishments. I used:
Ele 18: Resize 20% and 50%
Ele 49: Resize 20%
Ele 19, 20, and 22: Resize 40%
Ele 50: Resize 40%
Ele 43: Resize 50%
Ele 30
Highlight your white canvas.
Select All.
Copy and paste a paper of choice Into Selection.
Deselect.
Apply the mask.
Merge Group.
Add your copyrights.
Add your name.
If you prefer not to animate then resize all your layers 85% and save your tag :O)
If you’d like to animate then continue (DON'T RESIZE LAYERS YET)….we’re going to get layers ready for animation.
Highlight your Pond Layer. Duplicate 2 times for a total of 3.
Rename Pond 1, 2, and 3
Highlight Pond 1.
Using your Free Hand Selection Tool outline the pond.
Apply the DSB Flux/Bright Noise with these settings:
Intensity 48
Mix
Ok
Highlight Pond 2.
Apply Bright Noise again accept hit the mix button twice.
Highlight Pond 3.
Apply Bright Noise again accept hit the mix button three times.
Deselect.
Close out Pond layers 2 & 3.
Highlight Ele 30. Duplicate 2 times for a total of 3.
Rename Stars 1, 2, and 3.
Apply the DSB Flux/Bright Noise to each of these layers just as you did for the pond layers. Then close out Star 2 & 3.
Copy Merge and carry into Animation Shop.
Edit/Paste/As New Animation
Go back into PSP.
Close out Pond 1, open up Pond 2.
Close out Star 1, open up Star 2.
Copy Merge
Carry into AS
Edit/Paste/After Current Frame
Go back into PSP.
Close out Pond 2, open up Pond 3.
Close out Star 2, open up Star 3.
Copy Merge
Carry into AS
Edit/Paste/After Current Frame
View your tag. If you're happy with it then resize:
Animation/Resize Animation
Percentage of Original checked
Width & height 80%
OK
Save your tag :O)
Hugs,
Bev

No comments:
Post a Comment