
 Clicking on the image will enlarge to full view.
Supplies
2 tubes of choice - I used the beautiful artwork of PinUpToons which can be purchased here.
Font of Choice - I used DalyHand.
Becky Mask 22 here
My Template 56 here
“Birthday Fun” is a full size scrap kit created by Shabby Pickles Designs and can be downloaded here.
Please leave a thank you when downloading.
It’s a small gesture for hard work given freely.
This tutorial was written assuming you have a working knowledge of PSP.
~♥~ Let’s get started ~♥~
Open up the template.
Shift + D
Close out the original.
Delete the credit layer.
Delete the words layer.
Highlight the Right Stamp Back layer.
Select All/Float/Defloat
New Raster Layer
Copy and paste the paper Into Selection.
Deselect.
Delete the template layer.
Highlight Right Stamp Square.
Select All/Float/Defloat
Copy and paste the paper as a new layer.
Selections/Invert
Tap the delete key.
DO NOT DESELECT
Copy and paste your tube as a new layer.
Tap the delete key.
Deselect.
Delete the template layer.
Highlight Right Stamp Frame.
Select All/Float/Defloat
New Raster Layer.
Flood fill with #c7a44f.
Deselect.
Delete the template layer.
Repeat all of the above steps with the other stamp accept use a different tube.
Close out your white background and merge visible.
Reopen your white background.
Copy and paste the balloon as a new layer
Resize 25% and 80%.
Mirror.
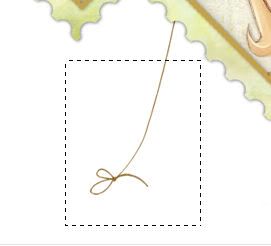
Move the balloon up on your canvas until you can see the bow at the end of the string. Using your Selection Tool, outline a portion of it.
Edit/Copy
Deselect
Edit/Paste as new layer.
Now move your balloon into position where you want it. See mine for reference. Notice how you can’t see the bottom of the string? Move the copy of the string into position so that it looks like part of the balloon.
Deselect
Edit/Paste as new layer.
Now move your balloon into position where you want it. See mine for reference. Notice how you can’t see the bottom of the string? Move the copy of the string into position so that it looks like part of the balloon.
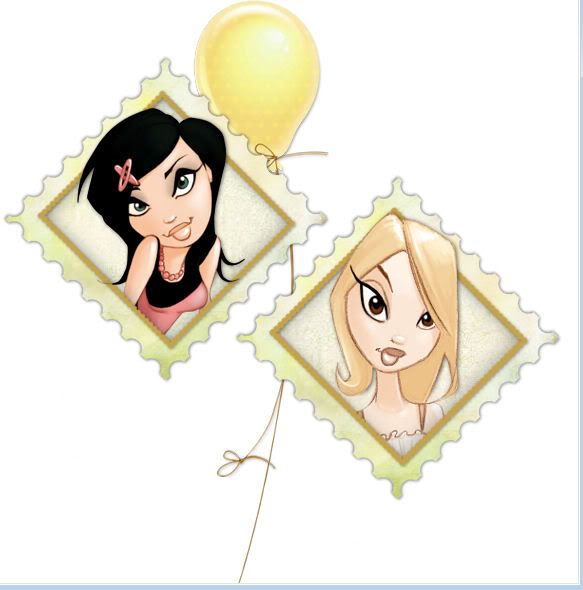
Highlight your balloon and use your Eraser Tool to erase the string that you can’t see the bow on that hangs below the stamp frames.
Copy and paste the balloon as a new layer again.
Resize 25% and 70%
Repeat the above steps with the string.
Highlight your white background.
New Raster layer.
Copy and paste the paper Into Selection.
Deselect.
Apply the mask.
Merge Group.
Copy and paste the music notes as a new layer.
Resize 40%
Apply the mask.
Merge Group.
Type the words “Happy Birthday”
Foreground: black
Background: black
Convert to a Raster layer.
Select All/Float/Defloat
Selections/Modify/Contract by 1
Flood fill with #cdd587
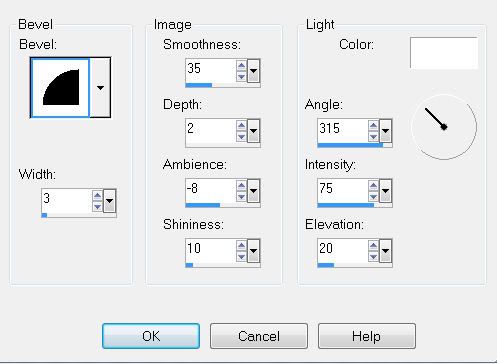
Give it an inner bevel:
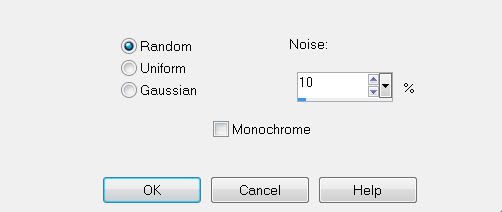
Add some Noise:
Deselect.
Copy and paste Cloud as a new layer.
Resize 20%
Add your copyrights.
Add your name.
Repeat the same steps as you did for Happy Birthday.
Copy and paste Candles 2 as a new layer behind your name.
Resize 25% and 40%.
Crop your image.
I hope you enjoyed this tutorial.
I’d love to see your results and show it off in my Show Arena.
Email me!
Hugs,
Bev
No comments:
Post a Comment