
 Clicking on the image will enlarge to full view.
Supplies
Font of Choice - I used Curly Cue
Weescotlass Mask 62 here
Blissfully Beth Template 64 here
Greg’s Factory Output Vol II - Pool Shadow
“Spookadoo” is a PTU tagger size scrap kit created by Julie of Bits ’n Bobs and can be purchased at AMI. You can visit her blog here.
Thank you Julie for such a spooky kit!
This tutorial was written assuming you have a working knowledge of PSP.
~♥~ Let’s get started ~♥~
Open up the template.
Shift + D.
Close out the original.
Delete the credit layer and Star layers 1 thru 7.
Highlight Stripes 1 layer.
Merge down.
Stripes 1 & 2 layers should now be on the same layer.
Select All/Float/Defloat
Copy and paste a paper of choice as a new layer.
Selections/Invert
Tap the delete key.
Deselect.
Delete the template layer.
Copy and paste Element 36 as a new layer.
Position it over the top strip. Use your eraser tool to get rid of all the overhang.
Duplicate 3 times and move each into position over each of the strips.
Highlight Big Frame layer.
Select All/Float/Defloat
Copy and paste a paper of choice as a new layer.
Selections/Invert
Tap the delete key.
Deselect.
Delete the template layer.
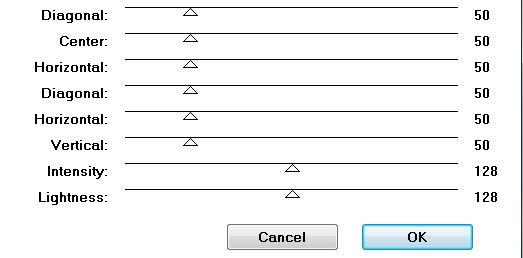
Apply Greg’s Factory Output Vol II - Pool Shadow:
Repeat the above step with Frame layer accept use a different paper.
Apply Pool Shadow - same settings as before.
Apply Pool Shadow - same settings as before.
Highlight the Words layer.
Select All/Float/Defloat
Copy and paste a paper of choice as a new layer.
Selections/Invert
Tap the delete key.
Delete the template layer.
Apply Greg’s Factory Output Vol II- Pool Shadow - same settings
Apply Greg’s Factory Output Vol II- Pool Shadow - same settings
Add your embellishments. I used:
Element 55: Resize 50%
Element 6: Resize 60%
Element 22: Resize 60%
Element 21: Resize 55%
Element 11: Resize 60% and 90%. Flip/Free rotate right 30 degrees
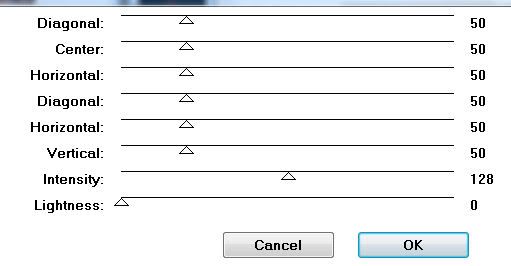
Element 65: Resize 70% - apply Pool Shadow.
Element 55: Resize 50%
Element 6: Resize 60%
Element 22: Resize 60%
Element 21: Resize 55%
Element 11: Resize 60% and 90%. Flip/Free rotate right 30 degrees
Element 65: Resize 70% - apply Pool Shadow.
Copy and paste one of the Witchy Poo’s as a new layer.
Resize 70% and 90%
Apply the Pool Shadow:
You can use these settings or you can toy around with the numbers and find a setting you prefer.
Highlight your white canvas.
New Raster Layer.
Select All.
Copy and paste a paper of choice Into Selection.
Deselect.
Or you can flood fill with a gradient of your choice.
Apply the mask.
Merge Group.
Add your copyrights.
Add your name.
Apply the same Pool Shadow as the last time.
Copy and paste Element 32 as a new layer.
Resize 60%. Free rotate right 90 degrees
Position so that it appears to be laced through your name.
Resize all layers 90%.
I hope you enjoyed this tutorial.
I’d love to see your results and show it off in my Show Arena.
Email me!
Hugs,
Bev
No comments:
Post a Comment