

Supplies
1 tube of choice - I used the gorgeous artwork of KatNKDA here
Font of choice - I used Jellyka Castle’s Queen here.
“Boudoir” is a full size scrap kit created by Kat of KatNKDA and can be purchased at her store NKArt Shop. You can visit her site here.
Kat, this kit is full of beauty. Thank you my dear friend.
This tutorial was written assuming you have a working knowledge of PSP.
~♥~ Let’s get started ~♥~
Open up a 700 X 700 blank canvas.
Flood fill white.
Copy and Paste Element 22 as a new layer.
Resize 50%
Free rotate left 5 degrees.
Resize 50%
Free rotate left 5 degrees.
Copy and Paste Element 11 as a new layer.
Resize 40%
Using your Freehand Selection Tool, outline the top leaf.
Resize 40%
Using your Freehand Selection Tool, outline the top leaf.
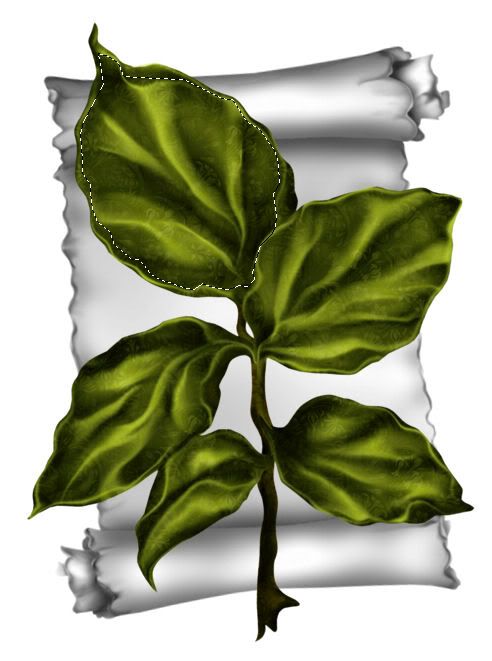
New Raster layer above the leaves.
Copy and paste a paper of choice Into Selection.
DO NOT DESELECT.
Copy and paste your tube as a new layer.
Resize as needed.
Selections/Invert
Tap the delete key.
DO NOT DESELECT.
Merge visible with the paper.
Selections/Modify/Feather
Number of Pixels:
43
OK
Tap the delete key until you have a feathered effect.
Deselect.
Merge down with the leaf layer.
Resize 80%
Position over the scroll paper.
Add your embellishments. I used:
Element 15: Resize 25%. Position behind the scroll
Element 42: Resize 25%. Free rotate right 95 degrees.
Element 39: Resize 25% Free rotate left 95 degrees.
Element 1: Resize 25% and 60%
Element 4: Resize 25% and 60%. Duplicate/Resize 80%
Element 11: Resize 25% and 40% - Position behind the roses
Element 11 again: Resize 25% and 70% - Position behind the scroll paper
Element 36: Resize 25% and 50% Free rotate right 30 degrees. - Duplicate/Mirror/Resize 80%
Element 35: Resize 25% and 35% Free rotate left 30 degrees
Element 39: Resize 25% and 30% Free rotate left 20 degrees
Crop your image.
Open up Mask 02 from the kit.
Highlight your working canvas.
Highlight your white background.
New Raster layer.
Copy and paste a paper of your choice.
Apply the mask - be sure “Invert Mask Data” is checked.
Merge Group.
Add your copyrights.
Add your name.
Resize all layers 80%
I hope you enjoyed this tutorial.
I’d love to see your results.
Email me!
Hugs,
Bev
No comments:
Post a Comment