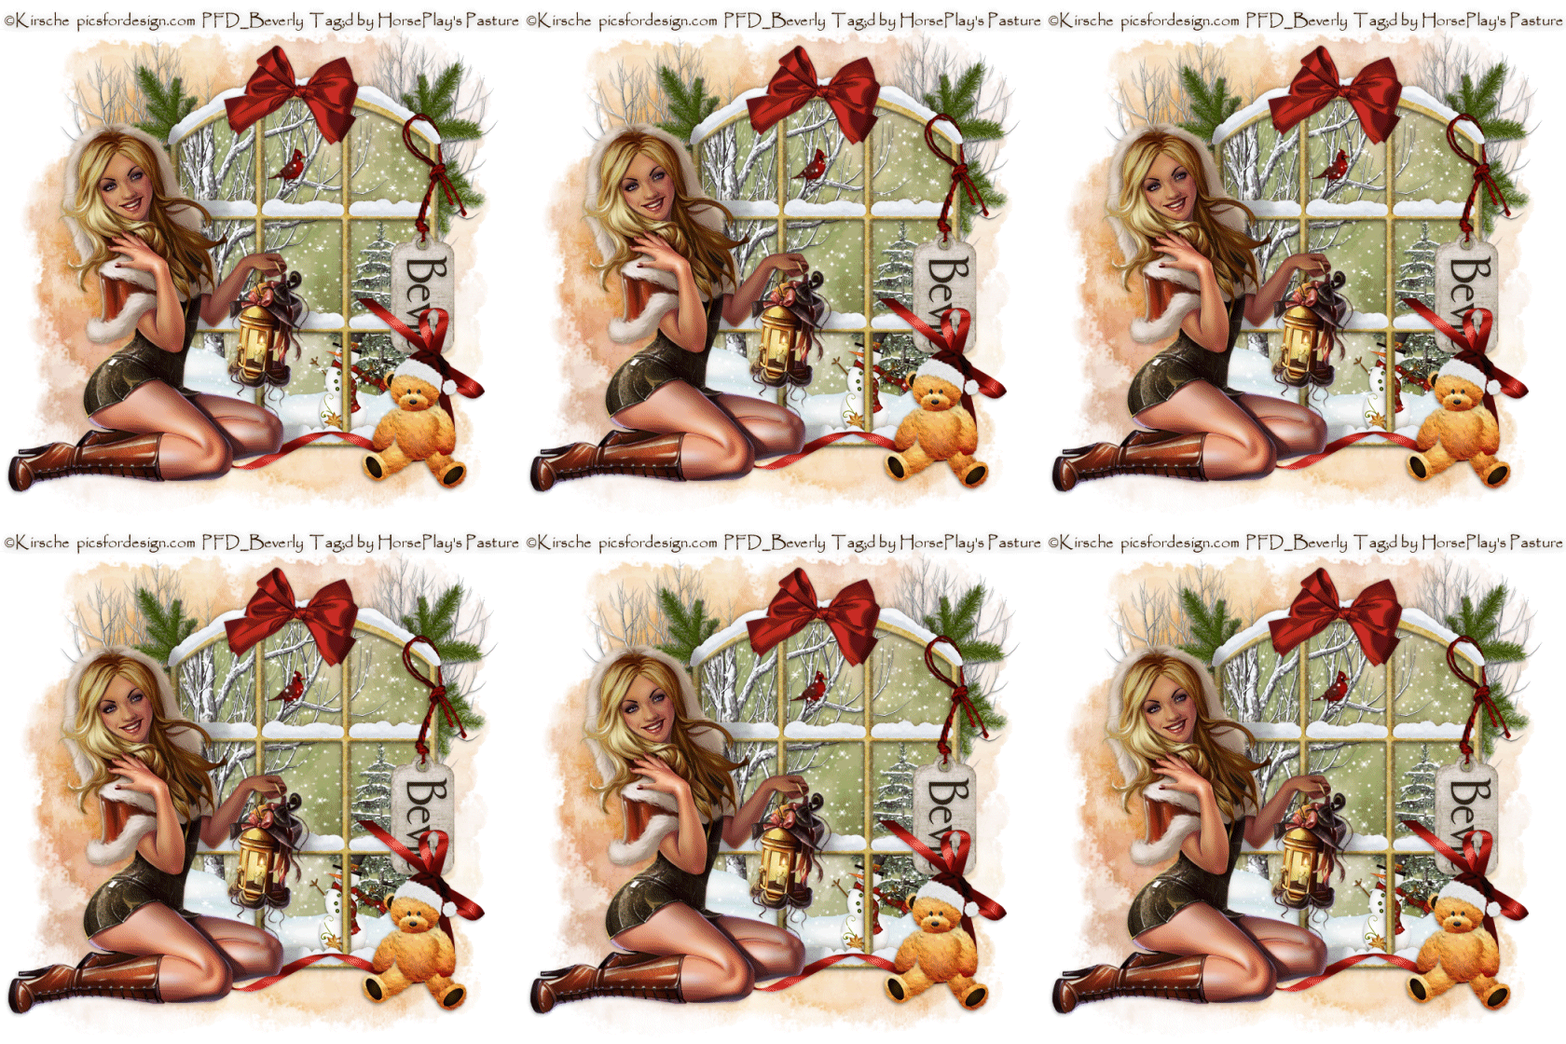
Supplies
1 tube of choice - I used the artwork of Kirsche which can be purchased from Pics for Design
Font of choice - I Stonehenge here
Becky Mask 22 here
Animation Shop
Snow which I’ve supplied here
“Christmas In My Heart” is a tagger size scrap kit created by me, Bev of HorsePlay’s Pasture Designs and can be purchased from Lollipops n Gumdrops or Butterfly Blush Designs. You can visit my designer blog here.
This tutorial was written assuming you have a working knowledge of PSP.
~♥~ Let’s get started ~♥~
Open up a 700 x 700 blank canvas.
Flood fill white.
Copy and paste 22 as a new layer.
Resize 90%
Copy and paste your tube as a new layer.
Move the window frame slightly to the right and position your tube slightly to the left - see my tag for reference.
Close the tube layer out for now.
Highlight the window frame layer.
Use your Magic Wand and click inside of each square.
Selections/Modify/Expand by 4.
New Raster layer below the frame.
Copy and paste Paper 8 Into Selection.
DO NOT GIVE THE WINDOW A DROP SHADOW YET!
Add the following elements below the frame. Don’t worry about what overhangs it. We’ll clean that up in a bit.
12: Resize 70%
18
30: Resize 25% and 50%
17: Resize 40%
40: Resize 25%
Highlight the paper layer.
Click anywhere outside of it with your Magic Wand.
Highlight each element layer that overhangs the frame and tap the delete key.
Deselect.
Add your elements. I used:
2: Resize 40%
32: Resize 60%/Free rotate Left 80 degrees/Duplicate/Mirror
18: Resize 50%/Duplicate/Mirror
20: Resize 70%
10: Resize 80%/Mirror
21: Resize 40%
Type your name.
Free rotate Right 90 degrees
Position it over the name tag.
Open up the snow that I provided.
Open up all layers.
Highlight Frame 1 layer.
Copy.
Highlight your working canvas.
Highlight the layer just below the frame.
Paste - your snow layer should appear.
Rename it S1 (short for Snow 1)
Don’t worry about what overhangs the frame. We’ll clean that up in a bit.
Highlight the animated snow layers.
Highlight Frame 2.
Copy
Highlight your working canvas.
Paste
Rename S2.
Continue to copy and paste all 10 snow layers onto your working canvas.
Once you have all snow layers copied and renamed on your working canvas highlight the paper layer.
Click anywhere outside of it with your Magic Wand.
Highlight each snow layer and tap the delete key.
Deselect.
Keep S1 layer open and close out all other snow layers.
Open up your tube layer.
Give it a drop shadow.
Give it another drop shadow accept this shadow you want on it’s own layer.
Click on the Layer Link Toggle at the top of the layers pallet and click on it until it says “None”.
Make your Pick Tool active (I use the Pick Tool to be able to move the shadow without grabbing anything else by accident) and move the shadow so that it’s cast a little over the frame - see my tag for reference.
Click on the move tool - just to get rid of the Pick Tool
Highlight the frame layer.
Select All/Float/Defloat
Selections/Invert
Highlight the casted drop shadow layer.
Tap the delete key.
Deselect.
Give the window frame a drop shadow.
Highlight your white canvas.
New Raster layer.
Select All.
Copy and paste Paper 7 Into Selection.
Deselect.
Apply the mask.
Merge Group.
Add your copyrights.
Be sure the only snow layer that’s open is S.
Copy Merge.
Time to Animate:
Open up Animation Shop
Edit/Paste/As New Animation
Back in PSP.
Close out S1.
Open up S2.
Copy Merge
Back in AS.
Edit/Paste/After Current Frame.
Back in PSP.
Close out S2.
Open up S3.
Copy Merge
Back in AS.
Edit/Paste/After Current Frame.
Back in PSP.
Close out S3.
Open up S4.
Copy Merge
Back in AS.
Edit/Paste/After Current Frame.
Back in PSP.
Close out S4.
Open up S5.
Copy Merge
Back in AS.
Edit/Paste/After Current Frame.
Back in PSP.
Close out S5.
Open up S6.
Copy Merge
Back in AS.
Edit/Paste/After Current Frame.
Back in PSP.
Close out S6.
Open up S7.
Copy Merge
Back in AS.
Edit/Paste/After Current Frame.
Back in PSP.
Close out S7.
Open up S8.
Copy Merge
Back in AS.
Edit/Paste/After Current Frame.
Back in PSP.
Close out S8.
Open up S9.
Copy Merge
Back in AS.
Edit/Paste/After Current Frame.
Back in PSP.
Close out S9.
Open up S10.
Copy Merge
Back in AS.
Edit/Paste/After Current Frame.
Animation/Resize Animation:
Percentage of Original checked
Width x Height: 80
OK
View your animation.
If you’re happy with it then save.
I hope you enjoyed this tutorial.
I’d love to see your results.
Email me!
Hugs,
Bev

No comments:
Post a Comment