

Supplies
1 tube of choice – I used the wonderful artwork of Susan Justice which
can be purchased from Up Your Art. You must have
a license to use.
Font of choice - I used Luna Bar here
Weescotlass Mask 208 here
Creative by Nature Template 138 here
“Emo Christmas 3” is a tagger size scrap kit created by Kristin of Toxic
Desirez and can be purchased from Twilight
Scraps. You can visit her blog here.
Thank you Kristin for an awesome kit.
This tutorial was written assuming you have a working knowledge of PSP.
~♥~ Let’s get started ~♥~
Open up the template.
Shift + D.
Close out the original.
Delete the top 4 layers.
New Raster layer.
Send to bottom.
Flood fill white.
Copy and paste Frame 3 as a new layer.
Resize 90%
Move it into position over the left side of Template layer 15.
Duplicate/Move to the right side.
Match the 2 frame layers at the center.
Highlight the bottom frame.
Click inside of it with your Magic Wand.
Highlight the frame layer above.
Tap the delete key.
Deselect.
Highlight the top frame above.
Click inside of it with your Magic Wand – the frame will be completely
outline.
Highlight the frame layer below.
Use your Eraser Tool and erase what shows in the middle.
Deselect.
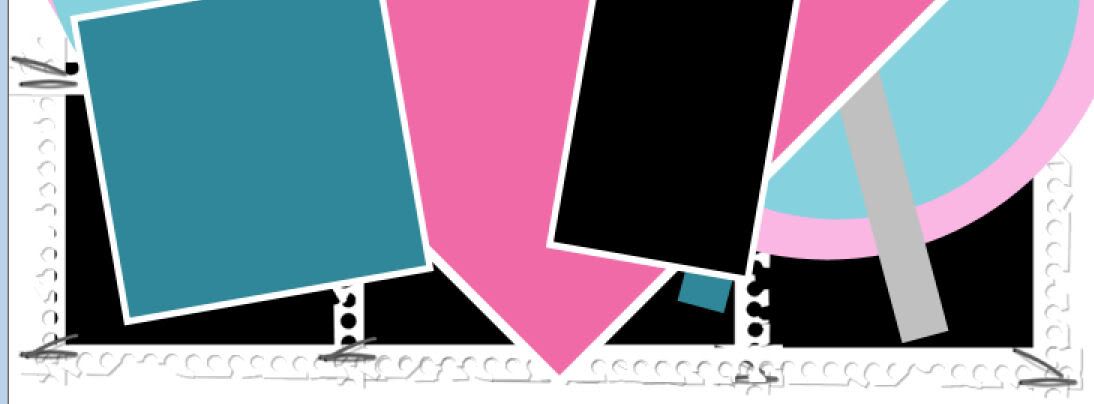
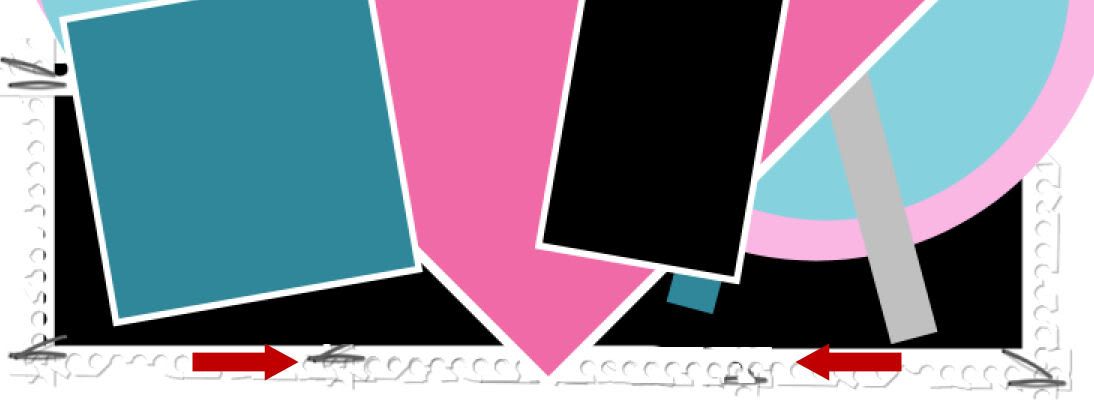
Highlight the correct frame layer and erase the staples that are
showing near the center of this new frame you just made:
Merge visible both frame layers.
Click inside of it with your Magic Wand.
Selections/Modify/Expand by 4.
Copy and paste Paper 9 As a New Layer.
Selections/Invert
Tap the delete key.
Deselect.
Delete Template layer 15.
Copy and paste Frame 1 as a new layer.
Resize 65%
Free rotate Left 70 degrees.
Move into position over Template 13.
Duplicate/Resize 80%
Move into position over Template 12.
Highlight/Duplicate/Mirror each frame layer.
Move these 2 frame layers over Templates 14 and 11.
To each frame:
Click inside with your Magic Wand.
Selections/Modify/Expand by 4.
New Raster layer below the frame.
Copy and paste Paper 2 Into Selection.
Deselect.
Delete template layers 11, 12, 13, and 14.
Copy and paste Candy Stick as a new layer.
Resize 80%
Free rotate Left 75 degrees.
Move into position over Template 10
Duplicate/Mirror
Move into position over Template 9.
Delete Template layers 9 and 10.
Open up Paper 3.
Duplciate
Close out the original.
Adjust/Blur/Gaussian Blur:
Radius: 15
OK
Copy
Close it out. You won’t be
needing it any longer.
Highlight Template 7 layer.
Click on it with your Magic Wand.
New Raster layer.
Paste the blurred paper Into Selection.
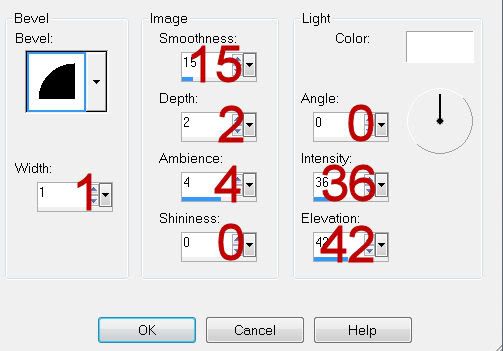
Give it a slight Inner Bevel:
Adjust/Add Remove Noise/Add Noise:
Gaussian and Monochrome checked
Noise: 43%
OK
Deselect.
Delete the template layer.
Repeat the above step with Template layers 5 and 3.
Highlight 8.
Click on it with your Magic Wand.
New Raster layer.
Copy and paste Paper 5 Into Selection.
Copy and paste Tree as a new layer above the paper.
Resize 70%
Selections/Invert
Tap the delete key.
Copy and paste Icicles as a new layer above the paper.
Resize 70%
Tap the delete key.
Deselect.
Delete the template layer.
Highlight 6.
Click on it with your Magic Wand.
New Raster layer.
Copy and paste Paper 3 Into Selection.
Copy and paste Kitty and Bauble as a new layer above the paper.
Resize 50%
Selections/Invert
Tap the delete key.
Deselect.
Delete the template layer.
Highlight 4.
Click on it with your Magic Wand.
New Raster layer.
Copy and paste Paper 4 Into Selection.
Deselect.
Delete the template layer.
Copy and paste your tube as a new layer.
Add your elements. I used:
Wire: Resize 80%
Baubles: Resize 40%
Doodle: Resize 40%/Flip
Bow 2: Resize 30%
Highlight your white canvas.
New Raster layer.
Select All.
Copy and paste the 6 Into Selection.
Deselect.
Adjust/Blur/Gaussian Blur:
Use same settings.
OK
Apply the mask.
Resize 115%
Merge Group.
Add your name.
Resize all layers 80%
No comments:
Post a Comment