

Supplies
1 tube of choice and an image – I used the awesome artwork of Lisa Cree
which can be purchased from her store PSP Tube Stop. You must have a license to use.
Font of choice - I used Jive here
Becky Mask 22 here
Creative by Nature Template 166 here
Plug Ins:
Penta.com – Toy Camera
Eyecandy 3.1 – Glow
Greg’s Factory Output Vol. II – Pool Shadow
Brush Strokes – Cross Hatch
My supplies here
– these are to be used only for this tutorial.
~♥~ Let’s get started ~♥~
Open up the template.
Shift + D.
Close out the original.
Image/Canvas Size:
700 x 600
OK
New Raster layer.
Flood fill white.
Send to bottom.
Delete the top 4 layers and “4” layer.
Highlight 10.
Click on it with your Magic Wand.
New Raster layer.
Copy and paste Paper 1 Into Selection.
Duplicate/Change the Properties to Dodge.
Deselect.
Delete the template layer.
Highlight 9.
Click on it with your Magic Wand.
New Raster layer.
Copy and paste “LovePotionOriginal” layer Into Selection.
Duplicate
Effects/Texture Effects/Mosaic Antique:
Use Default settings
OK
Deselect.
Delete the template layer.
Make Paper 1 active and section off this area of it using your Freehand
Selection Tool set on Rectangle:
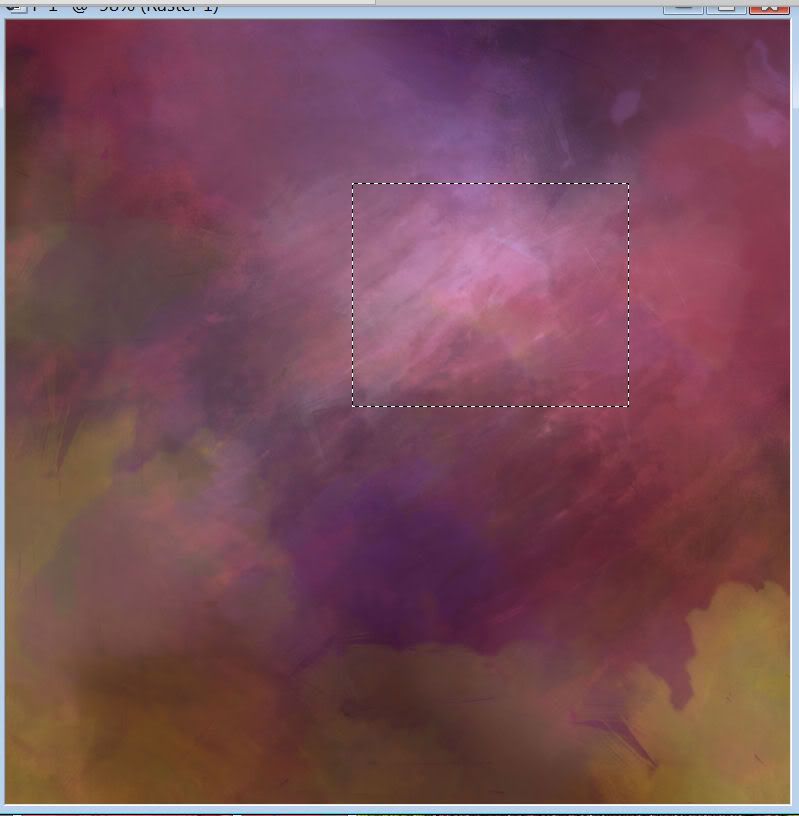
Copy.
Deselect.
Make your working canvas active.
Highlight 8.
Click on it with your Magic Wand.
New Raster layer.
Paste the section of the paper Into Selection.
Apply Penta.com – Toy Camera:
Use Default settings
Deselect.
Delete the template layer.
Apply Eyecandy 3.1 – Glow:
Width: 3
Opacity: 100%
Opacity Drop Off: Fat
Color: #ebcddd
OK
Highlight 6.
Click on it with your Magic Wand.
New Raster layer.
Copy and paste Paper 1 Into Selection.
Apply Greg’s Factory Output Vol. II – Pool Shadow:
Use Default Settings accept lower the Intensity bar to 41.
OK
Deselect.
Delete the template layer.
Highlight 3.
Select All/Float/Defloat
New Raster layer.
Paste Paper 1 Into Selection.
Apply Pool Shadow effect again accept bring the Intensity bar back up
to 128.
OK
Deselect.
Delete the template layer.
Highlight 5.
Click anywhere outside of it with your Magic Wand.
Paste Paper 1 as a new layer.
Move into a position you like – I positioned the lightest area of the
paper over the template.
Tap the delete key.
Copy and paste your tube as a new layer over the paper layer.
Tap the delete key.
Deselect.
Change the Properties to Soft Light.
Delete the template layer.
Add your elements. I used:
Heart Button: Resize
15%/Duplicate 5 times
Bow: Resize 60%
Flower 1: Resize 20%/Duplicate/Resize 70% 2x’s
Flower 2: Resize 20% and
70%/Duplicate/Resize 70%
Vine: Resize 70%
Vine again: Resize 60%/Duplicate
Highlight your white canvas.
New Raster layer.
Select All.
Copy and paste Paper 2 Into Selection.
Deselect.
Adjust/Blur/Gaussian Blur:
Radius: 15
OK
Apply Brush Strokes – Cross Hatch:
Stroke Length: 39
Sharpness: 6
Strength: 3
OK
Apply the mask.
Resize 105%
Merge Group.
Add your credits.
Add your name.
Foreground: #290d15
Background: #e2526b
Stroke Width: 1.0
Type your name.
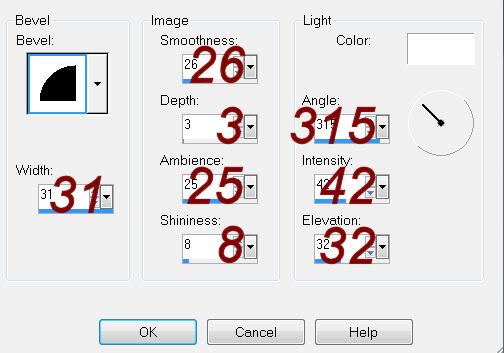
Give it a slight Inner Bevel:
Resize all layers 80%.
No comments:
Post a Comment