
Supplies
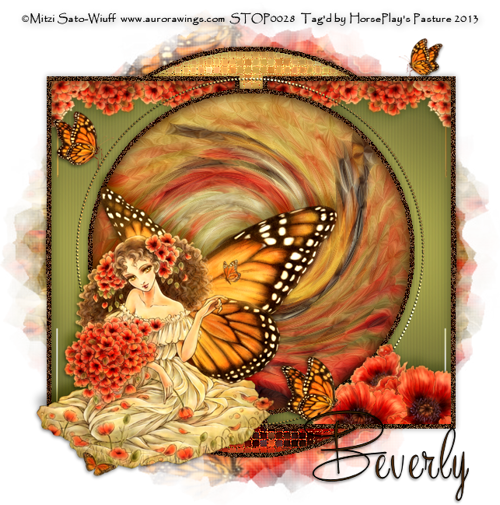
1 tube of choice – I used the beautiful artwork of Mitzi Sato-Wiuff which
can be purchased from PSP TubeStop. You must have a license to use.
Font of choice – I used Recorda
Script here
Weescotlass Mask 119 here
My template 156 here
Plugs Ins used:
Greg’s Factory Output Vol. II – Pool Shadow
Mura’s Meister – Copies
Eyecandy 5 – Textures: Swirl
This tutorial was written assuming you have a working knowledge of PSP.
~♥~ Let’s get started ~♥~
Open up the template.
Shift + D.
Close out the original.
Delete the credit layer.
Image/Canvas Size:
700 x 700
OK
Highlight Raster 1 layer.
Flood fill white.
Highlight Raster 5.
Merge Down.
Rename this layer “Merged 4 & 5”
Highlight Raster 7.
Merge Down.
Rename this layer “Merged 6 & 7”
Highlight Raster 2 layer.
Click anywhere outside of it with your Magic Wand.
Selections/Invert
New Raster layer.
Flood fill with #492608.
Adjust/Add Remove Noise/Add Noise:
Uniform and Monochrome checked:
Noise: 63%
OK
Deselect.
Delete the template layer.
Repeat the above step with:
Merged 4 & 5 layer and Raster 10 layer
Highlight Raster 3 template layer.
Click on it with your Magic Wand.
New Raster layer.
Copy and Paste “Original” layer (from the tube) Into Selection.
Duplicate
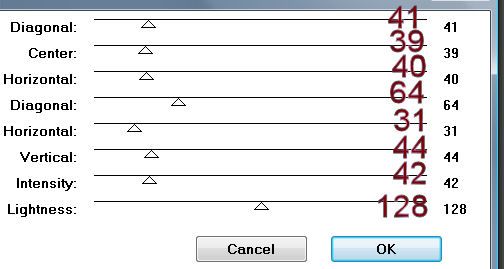
Effects/Texture Effects/ Mosaic Antique
Use Default settings.
Adjust/Sharpen/Sharpen More
Deselect.
Delete the template layer.
Color Pallet:
Foreground: #67672b
Background: #c8c482
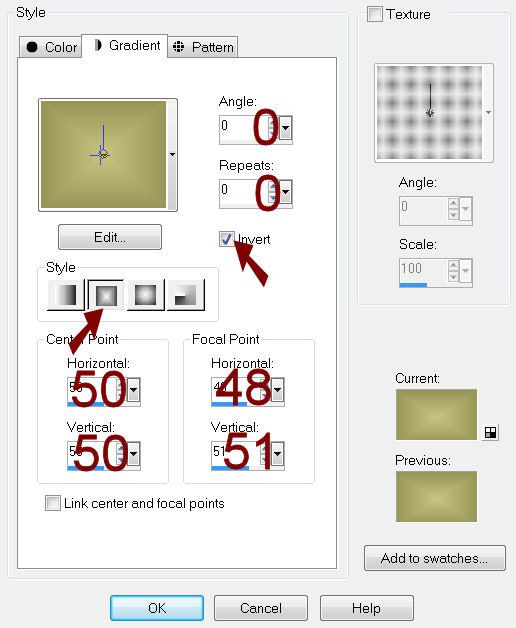
Set the foreground to gradient:
Highlight “Merged 6 & 7” template layer.
Click on both rectangles with your Magic Wand.
New Raster layer.
Flood fill with the gradient.
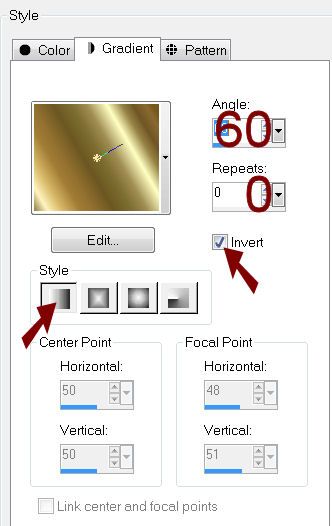
Apply Greg’s Factory Output Vol. II – Pool Shadow:
Duplicate the layer.
Effects/Texture Effects/Blind:

Change the Properties to Multiply.
Lower the Opacity to about 55.
Deselect.
Don’t delete the template layer yet.
Copy and paste “Posey” layer (from the tube) as a New layer.
Apply Mura’s Meister – Copies:
Set to Line(random rotate)
Use Default settings.
Move the line of flowers into position just over the blinds gradient
layer – see my tag for reference.
Highlight the Merged 6 & 7 template layer.
Click anywhere outside of it with your Magic Wand.
Highlight the line of flowers layer.
Tap the delete key.
Deselect.
Delete the template layer.
Color Pallet:
Set the gradient color to “Metal Brass”
Match your settings to mine:
Highlight Raster 8 template layer.
Select AlL/Float/Defloat.
New Raster layer.
Flood fill with the gradient.
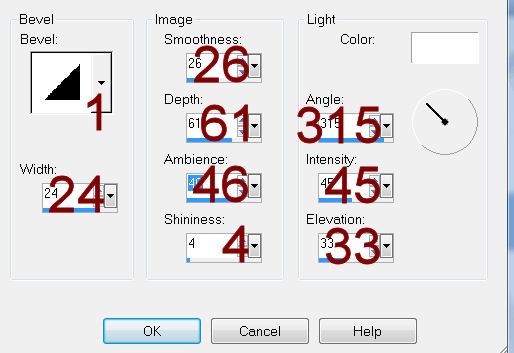
Give it a slight Inner Bevel:
Deselect.
Delete the template layer.
Make a new 600 x 600 blank canvas.
Flood fill with the gradient.
Copy.
Highlight Raster 9 layer.
Select All/Float/Defloat.
New Raster layer.
Paste the gradient Into Selection.
Deselect.
Delete the template layer.
Give it the same slight Inner Bevel.
Highlight Raster 11 layer.
Click on it with your Magic Wand.
New Raster layer.
Copy and paste “Original” layer (from the tube) Into Selection.
Apply Eyecandy 5 – Textures: Swirl
Settings Tab:
Randon, Tiny No Twists, No Streaks
OK
Duplicate
Effects/Distortion Effects/Twirl:
272 degrees
OK
Deselect.
Delete the template layer.
Copy and paste your tube as a new layer.
Resize 90%
See my tag for placement.
Copy and paste Poppies and Butterfly layer as a new layer.
Resize 60%
Move into position.
Highlight the blinds gradient layer.
Click anywhere outside of it with your Magic Wand.
Highlight the Poppies and Butterfly layer.
Tap the delete key.
Deselect.
Copy and paste Butterfly as a new layer.
Resize 50%
Duplicate/Mirror/Resize 70%
Highlight your white background.
New Raster layer.
Select All.
Copy and paste “Original” layer (from the tube) Into Selection.
Deselect.
Duplicate/Flip.
Use your Selection Tool set on Rectangle and section off the bottom
half of the paper.
Tap the delete key.
Deselect.
Merge Down.
Apply the mask.
Resize 105%
Merge Group.
Crop your image.
Add your credits.
Add your name.
Color Pallet:
Foreground: #000000
Background: #492608
Stroke: 0.8
Type your name.
Convert to Raster layer.
Resize all layers 80%.
No comments:
Post a Comment